User Guide
Before You Start #
You must be connected to your cluster using its IP and port.
- Local deployments:
kubectl get svc pachyderm-proxy
How to Explore Resources #
Select a Project + Repo #
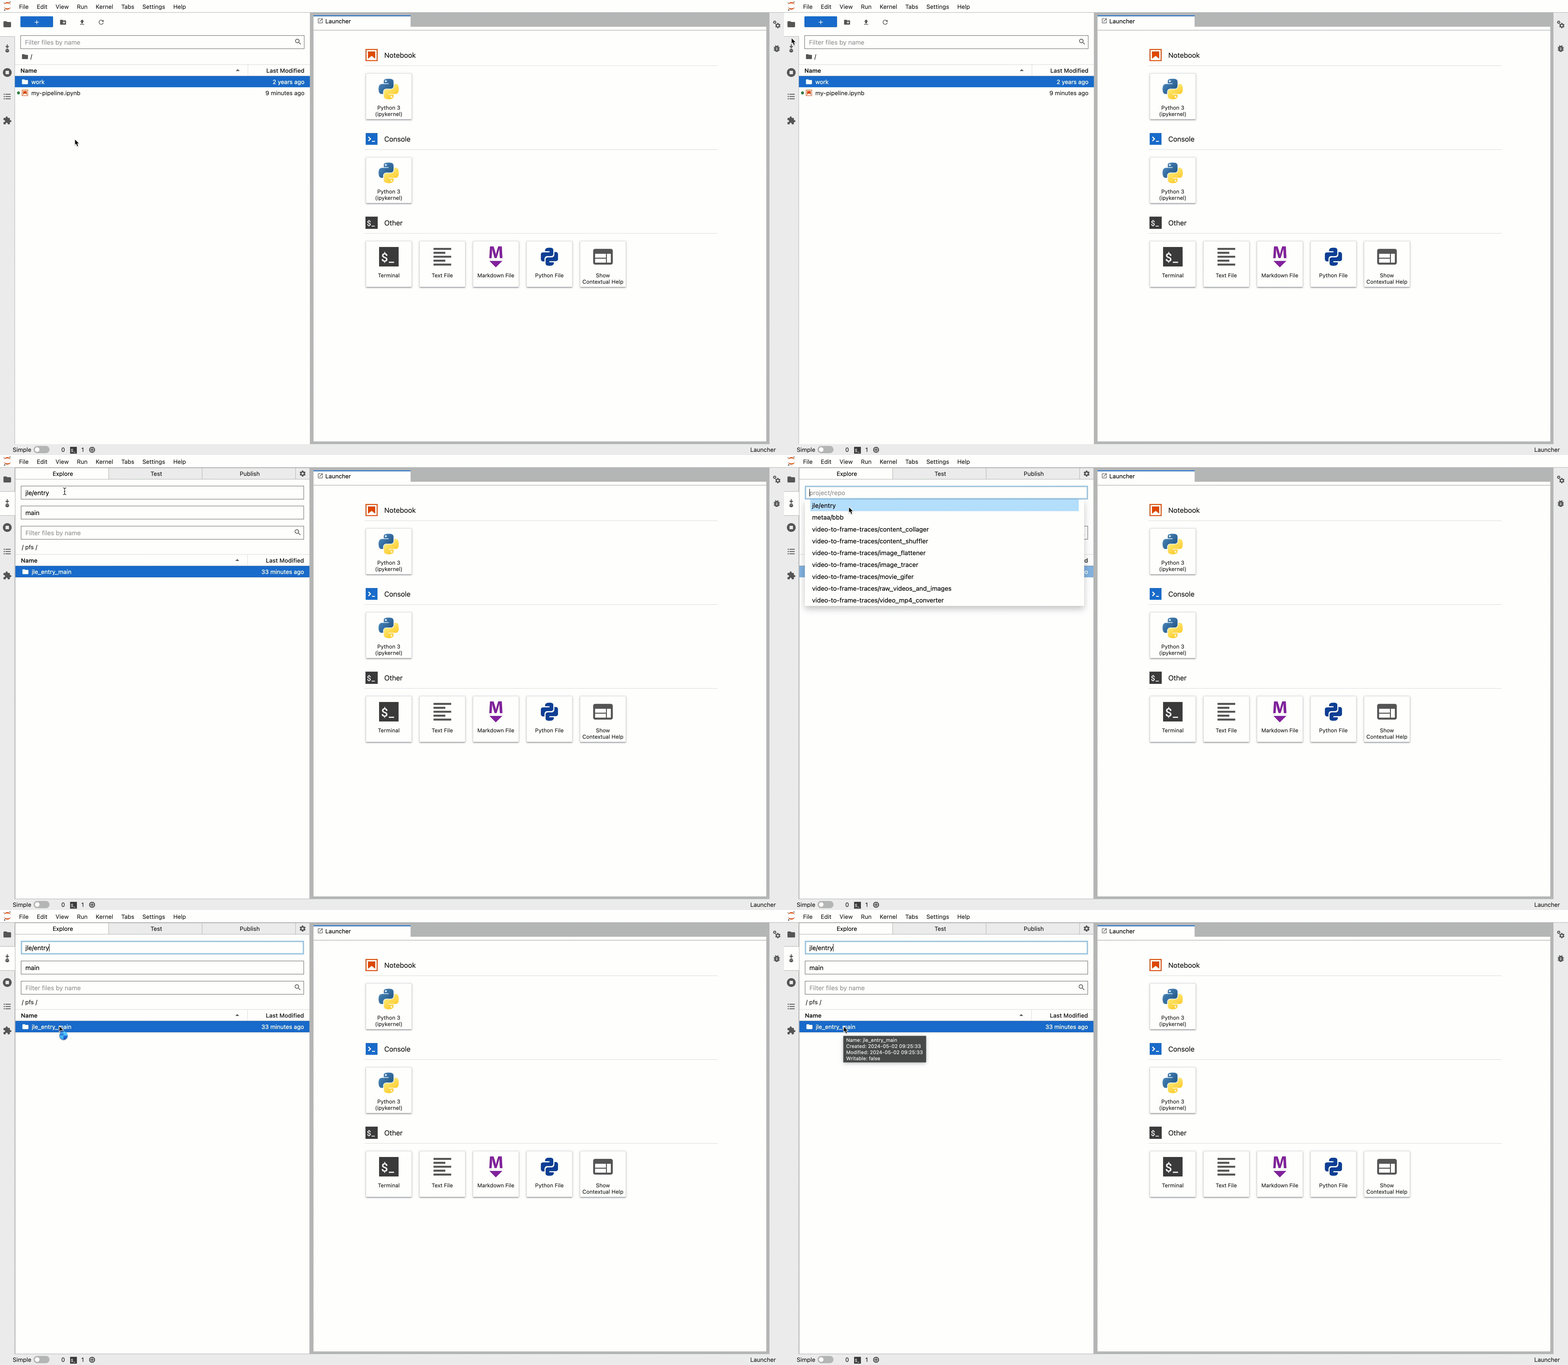
- Navigate to the Pachyderm Mount > Explore tab.
- Select a
project/repocombination from the first dropdown.
At this point, you should see a corresponding folder populate in the /pfs/ directory in the file browser.

Switch Between Repo Branches #
- Navigate to the Pachyderm Mount > Explore tab.
- Select the second dropdown and choose an item to switch between existing branches (e.g.,
master,main,dev,staging).
Explore Directories & Files #
- Navigate to the Pachyderm Mount > Explore tab.
- Select a
project/repocombination from the first dropdown. - Scroll to the
/pfs/file browser to view the contents of your repository.- These repositories are read-only.
- File formats that are supported by JupyterLab can be viewed by double-clicking the file.
- Files and directories can be downloaded to the CWD as needed by right-clicking the file or directory then selecting the Download item. This can be useful for testing your code against your Pachyderm data.
How to Create Resources #
Create a Repo & Repo Branch #
- Open the JupyterLab UI.
- Open a Terminal from the launcher.
- Input the following:
pachctl create repo demo
pachctl create branch demo@master
You can now siwtch to your project’s demo repo and master branch in the Pachyderm Mount > Explore tab.
Create a Pipeline #
Mount Project & Repo #
Before we start defining the user code of our pipeline, we should mount the project and repo that we want to work with.
- Open the JupyterLab Mount Extension UI.
- Navigate to the Pachyderm Mount > Explore tab.
- Select a
project/repocombination from the first dropdown. - Select a branch from the second dropdown.
Define Input Spec & Load Datums #
Now that we have mounted our project and repo, we can define the input spec for our pipeline. This enables us to:
- Leverage certain input patterns such as a cross, union, or join.
- Target specific datums in our repository based on a glob pattern.
- Navigate to the Pachyderm Mount > Test tab.
- Review the default input spec:
pfs: repo: demo branch: master glob: /* - Update the input spec to match the datums you wish to focus on.
- Select Load Datums.
- Traverse the file browser to view the datums that match your glob pattern.
- Iterate through this process until you have a glob pattern that matches the datums you wish to focus on.
- Select Download Datums to download the datums to your local machine. This makes them available to your notebook.
Define User Code #
- Launch a new notebook.
- Define the user code for your pipeline.
- Run the code to ensure it works as expected.
- Iterate to refine your code as needed.
Publish a Pipeline #
- Navigate to Pachyderm Mount > Publish tab.
- Provide or validate inputs for all of the following:
- Pipeline Name: The name of your pipeline.
- Pipeline Project Name: The project where your pipeline will be created.
- Container Image Name: The container image that will be used to run your pipeline.
- Requirements File: The path to a requirements file that will be used to install dependencies in your container.
- External Files: Any external files that you want to include in your pipeline.
- Port: The port that your pipeline will run on.
- Pipline Input Spec: The input spec that you defined in the previous step.
- GPU Mode: Whether or not your pipeline requires a GPU.
- Select Run.
You should see your pipeline appear and begin to run in the Console UI.